


The Blog
Inspo. Info. Everything you need.

5 Things You Don’t Need to Stress About During Your Newborn Photoshoot
You’ve got spit-up on your shirt, you’re Googling “is it normal for newborns to hiccup THIS much,” and you can’t remember the last time you slept for more than 3 hours straight. Welcome to the chaos of motherhood.
read More

I apologize that my blog has been neglected for the past few days – I’ve been so busy actually TAKING photos that I haven’t had much time to actually SHARE them! I do often update on my Facebook Fan Page, so if you haven’t clicked “like” yet, please go there and check it out. You […]
read more >>
read more
filed under:
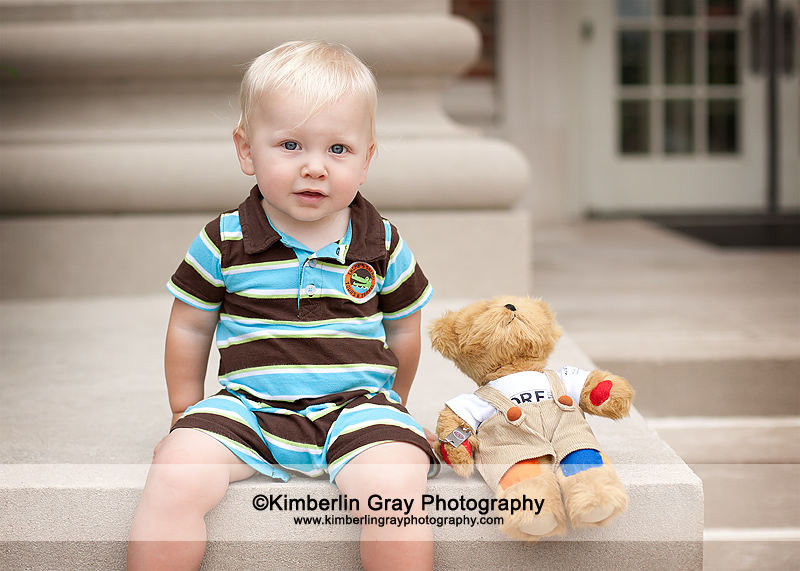
Thank you, Thank you, Thank you to the twelve families who donated to the Davis Family. I want you to meet Joshua, the little boy who inspired me to do these minisessions….and Rufus, his CHKD bear. At our session, his mommy said that he was given this bear in the hospital – the patches are […]
read more >>
read more
filed under:
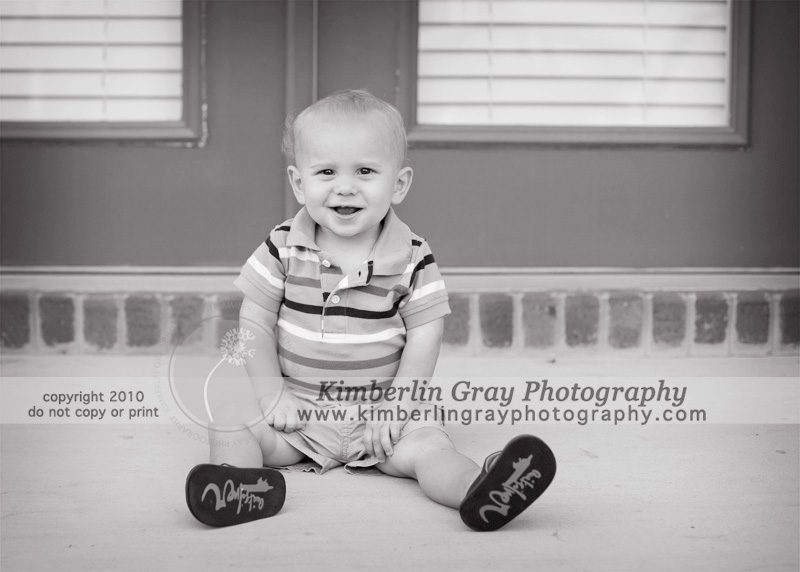
After my marathon mini-sessions two weekends in a row (where the ages of children ranged from 6 months to 12 years), I came to the conclusion that it might be helpful for a photographer to write to her clients about things to do (and maybe a few not to do) during a custom portrait session. […]
read more >>
read more
filed under:
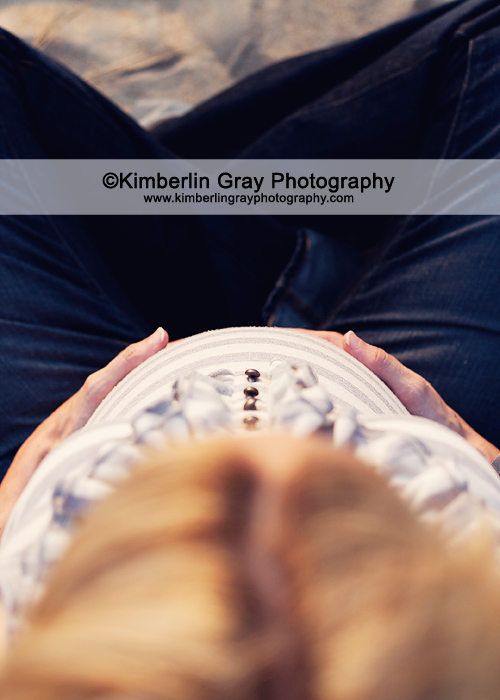
This couple wasn’t too sure about allowing me to share their photos on the blog…and the mom-to-be joked with me that she really liked the photos on my website “with just the belly – and no faces” so I decided to do a sneak peek just for her. No faces – just belly – in […]
read more >>
read more
filed under:

I was so flattered to have been asked to travel to Richmond to photograph this sweet newborn. And even though we had to work for it (didn’t we, Dad?) we ended up with some beautiful shots! Enjoy your sneak peek! I shared this one on Facebook, but it truly is one of my new all-time […]
read more >>
read more
filed under:
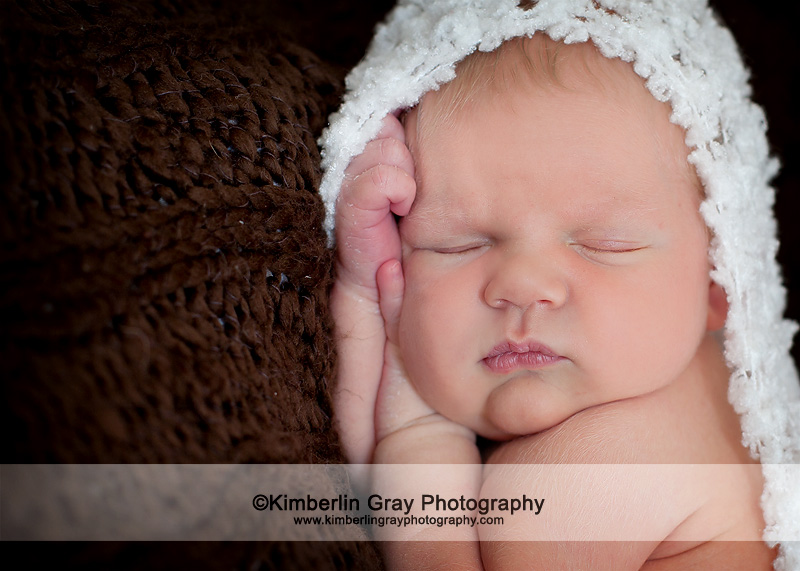
There is just something about babies with chubby cheeks that makes me melt! This little guy was so sweet – even if he was awake for a while at first! I got to hold him and snuggle him to sleep, which is the best part of my job (is this a JOB??)! Check out this […]
read more >>
read more
filed under:
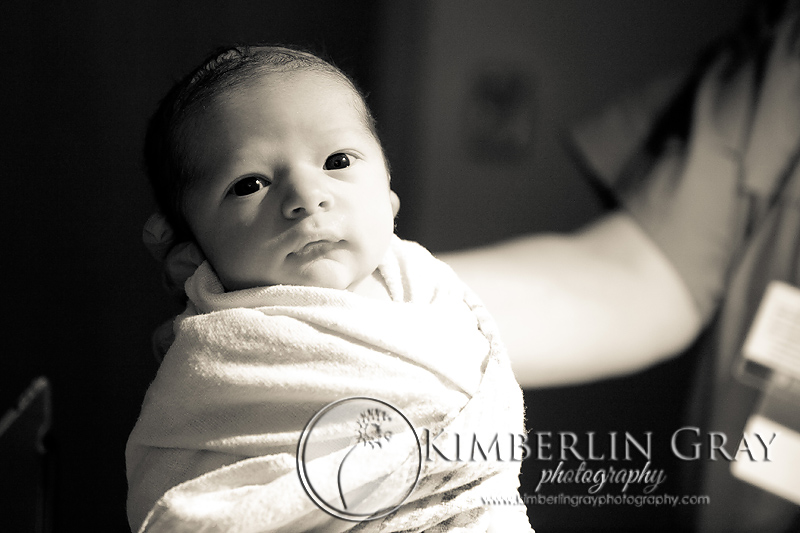
While proofing images from this little guy’s birth, I ran across this one and fell in love. He was so wide awake right after birth, those big eyes just taking it all in! When I met with him again, he was 8 days old. And those wide awake eyes were quite the challenge for us!! […]
read more >>
read more
filed under:

"The images we have gotten from Amanda will hang on our walls FOREVER!
She is one of the MOST creative, talented, and patient photographers we’ve ever worked with."
- Samantha W.


We’re all about making every family feel welcome.
Whether you’ve got a huge family, a blended crew, or just need a break from all the baby advice, we’ve got your back. And when you’re done? You won’t just walk away with a few pics - you’ll have jaw-dropping photos that’ll make everyone say, “Wait, you really had that much fun doing newborn photos?”
So take a breath, mama. We know it feels like a lot, but when you work with us, all those newborn photo worries melt away. We’ll take care of it all. You just show up, relax, and get ready to meet your new best friend: your photos.
Contact Us

All images copyright Kimberlin Gray Photography | Site Credits | privacy policy