


The Blog
Inspo. Info. Everything you need.

5 Things You Don’t Need to Stress About During Your Newborn Photoshoot
You’ve got spit-up on your shirt, you’re Googling “is it normal for newborns to hiccup THIS much,” and you can’t remember the last time you slept for more than 3 hours straight. Welcome to the chaos of motherhood.
read More


Announcing our next workshop! Light, Pose, & Profit: The Art of the Newborn Photography Business April 17-19, 2015 ~ Friday 6pm through Sunday 6pm ~ Detailed itinerary of the entire weekend is available – just email me at amanda@kimberlingrayphotography.com Participants must reside at least 35 miles from our zip code, 23455. (We do offer a […]
read more >>
read more
filed under:
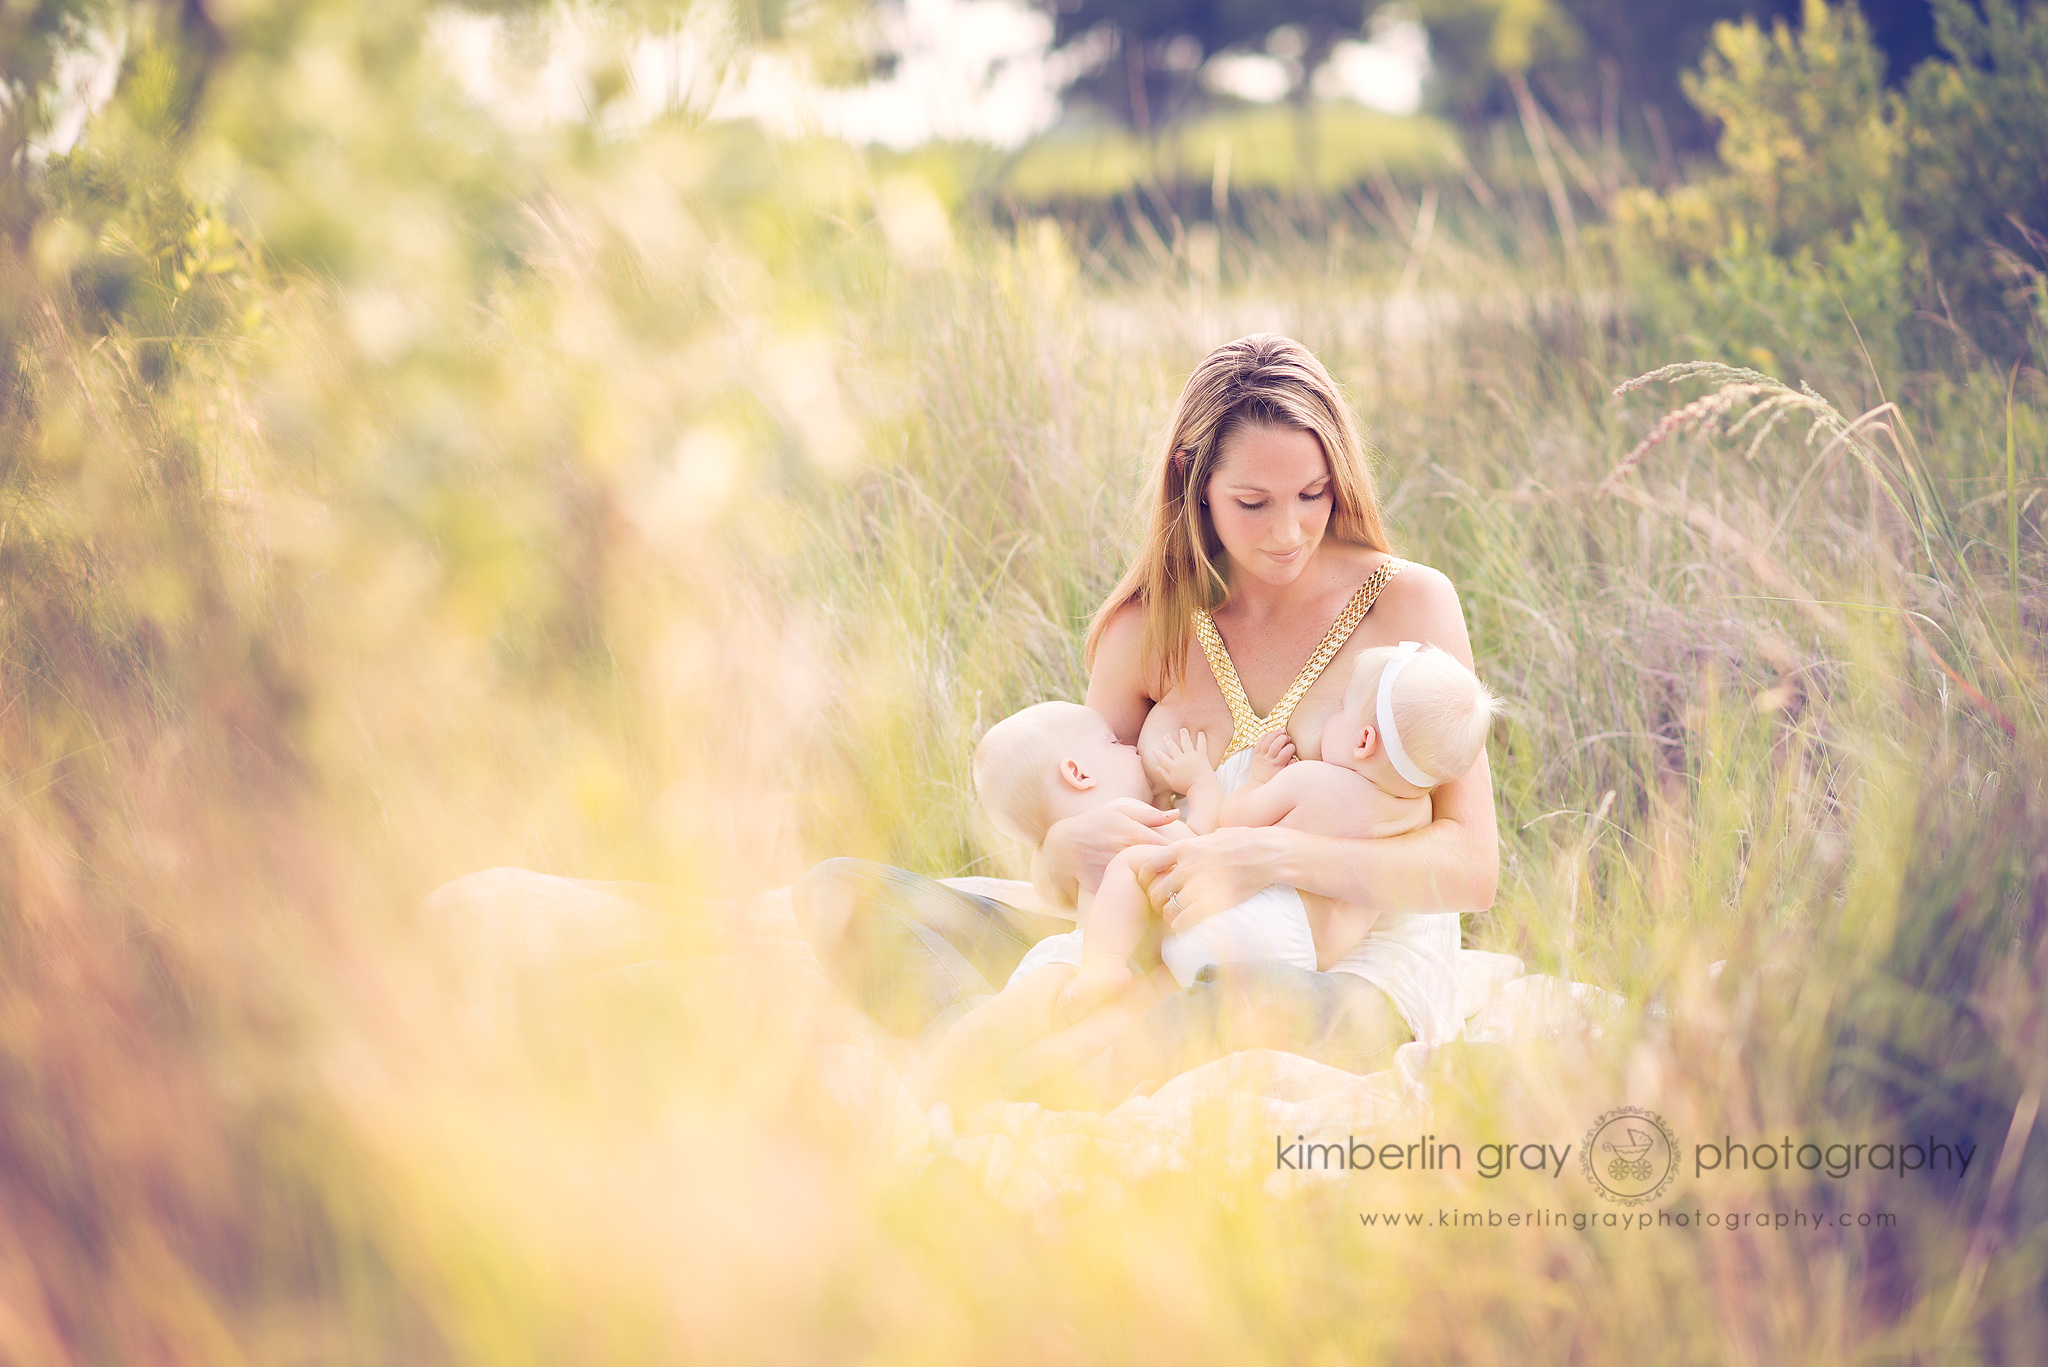
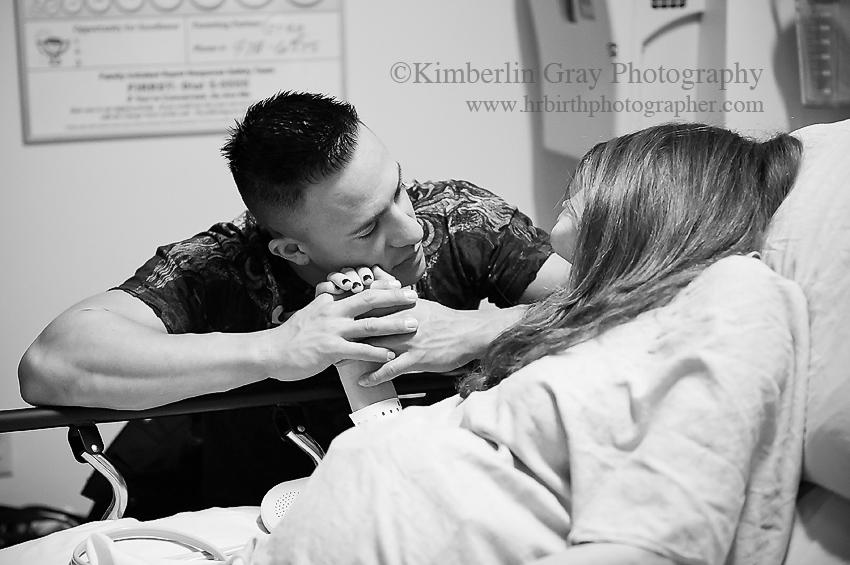
I would love to share pictures of me breastfeeding my children with you today…. but I can’t. I can’t because I never had pictures taken of me nursing my babies. I never took selfies or had anyone snap a picture of me breastfeeding and I surely didn’t have a professional take beautiful pictures. I was […]
read more >>
read more
filed under:
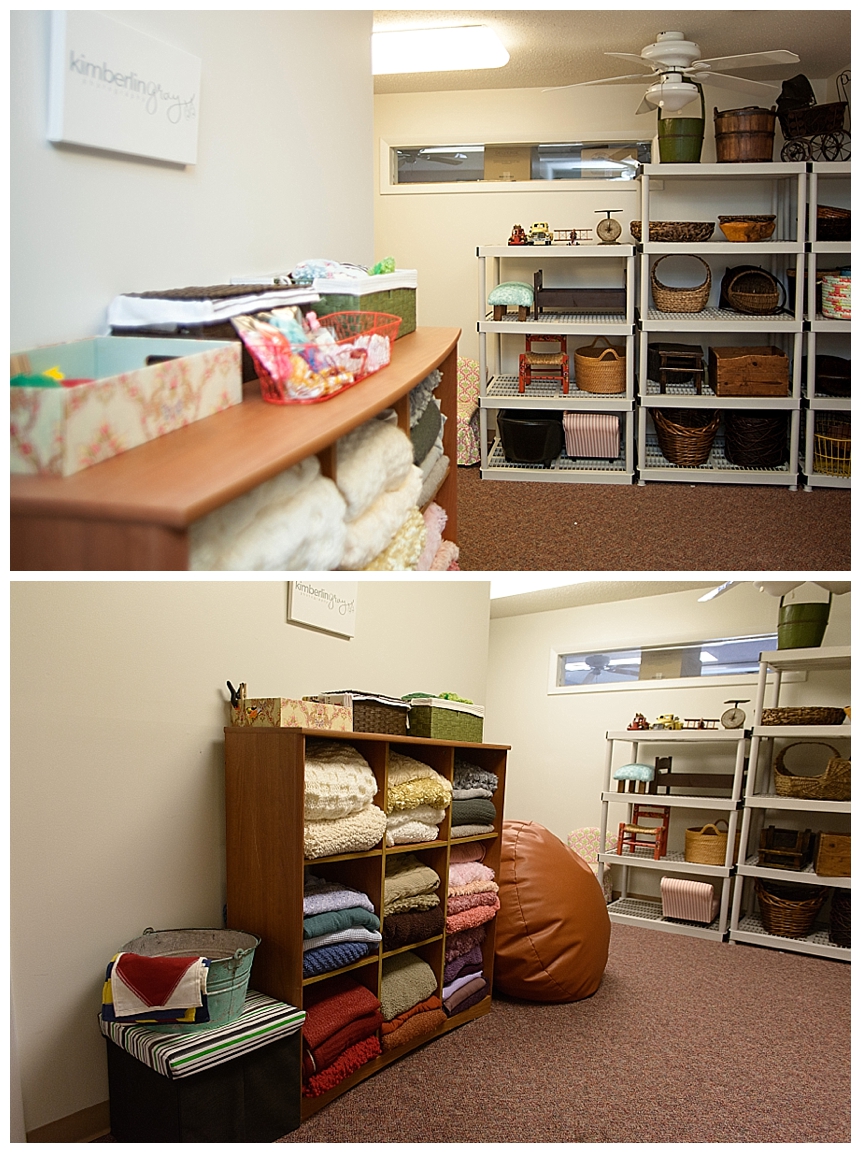
Welcome to the Kimberlin Gray Photography Studio located in Virginia Beach, Virginia! We would love for you to come by and see us in person….but until then, here is a look at what makes us unique from other studios in the area. We have a 1100 sq ft studio at the North End of Virginia […]
read more >>
read more
filed under:
This is a blog post that is simultaneously exciting and terrifying to write. You see, change is hard for a lot of people and a lot of reasons. For me, I usually LOVE change. My mother has called me ‘fickle’ for a number of years, but I maintain that I just like change…I like new […]
read more >>
read more
filed under:
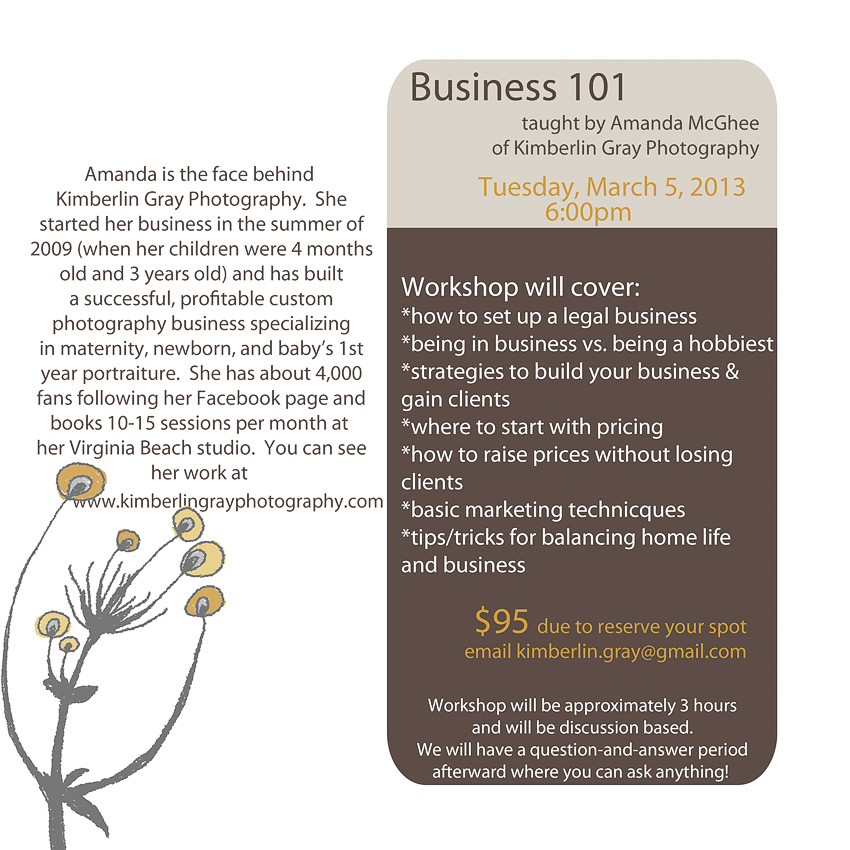
This class is for those in Hampton Roads who are considering starting a photography business, those who have recently opened a business, or even those who have a photography business but want to be sure they are doing so legally and profitably. We will cover the basic principles of owning a business, how to legally […]
read more >>
read more
filed under:
There have been quite a few photographers who have written blog posts about why custom photography costs more. Many of them are spot-on and very informative for people who may not have ever had the experience of a custom, on-location photographer before. In fact, most of us are so used to the “in-and-out mall studio” […]
read more >>
read more
filed under:
I didn’t realize how hard it would be to choose just TEN images from the whole year until I started going back through my archives! To be honest, I probably could have chosen ten per birth for this particular category – each birth experience is so different and the images truly tell the story of […]
read more >>
read more
filed under:
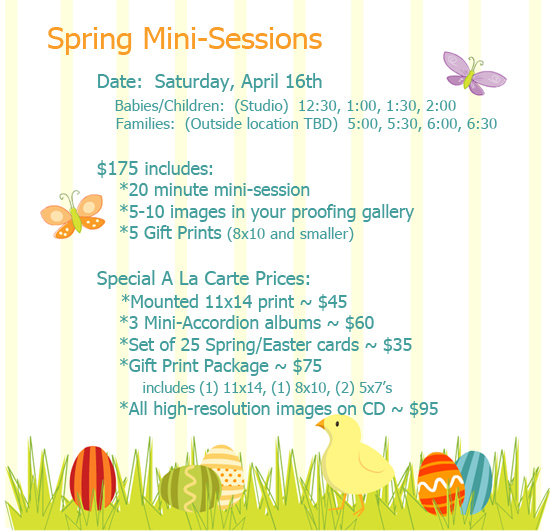
What is a Mini-Sesssion anyway? A mini-session is basically a scaled down version of a custom photo session with Kimberlin Gray Photography. It includes a 20 minute portrait session and 5 Gift Prints from the 5-10 fully edited images. Special a la carte items are also offered at a discounted rate only for these […]
read more >>
read more
filed under:
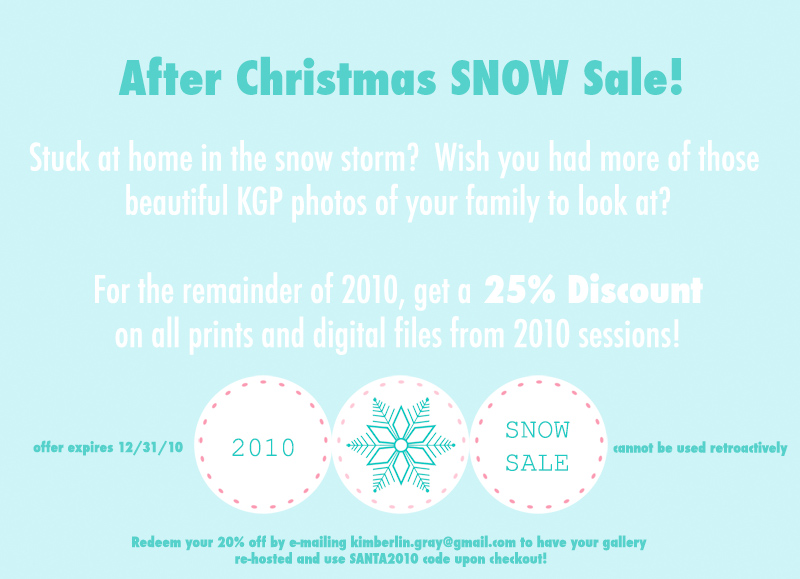
I have been seeing other photographers that I admire posting their “Top 10 of 2010” blog posts all week long. So, I planned to sit down on the Eve of 2011 to put together my Top 10…and it quickly became a Top 100 list. There are just too many beautiful babies, gorgeous moms-to-be, fabulous families, […]
read more >>
read more
filed under:
read more >>
read more
filed under:

"The images we have gotten from Amanda will hang on our walls FOREVER!
She is one of the MOST creative, talented, and patient photographers we’ve ever worked with."
- Samantha W.


We’re all about making every family feel welcome.
Whether you’ve got a huge family, a blended crew, or just need a break from all the baby advice, we’ve got your back. And when you’re done? You won’t just walk away with a few pics - you’ll have jaw-dropping photos that’ll make everyone say, “Wait, you really had that much fun doing newborn photos?”
So take a breath, mama. We know it feels like a lot, but when you work with us, all those newborn photo worries melt away. We’ll take care of it all. You just show up, relax, and get ready to meet your new best friend: your photos.
Contact Us

All images copyright Kimberlin Gray Photography | Site Credits | privacy policy